How to Add a Network Printer on a Mac via IP Address
- Click on System Preferences icon to open the System Preferences app.

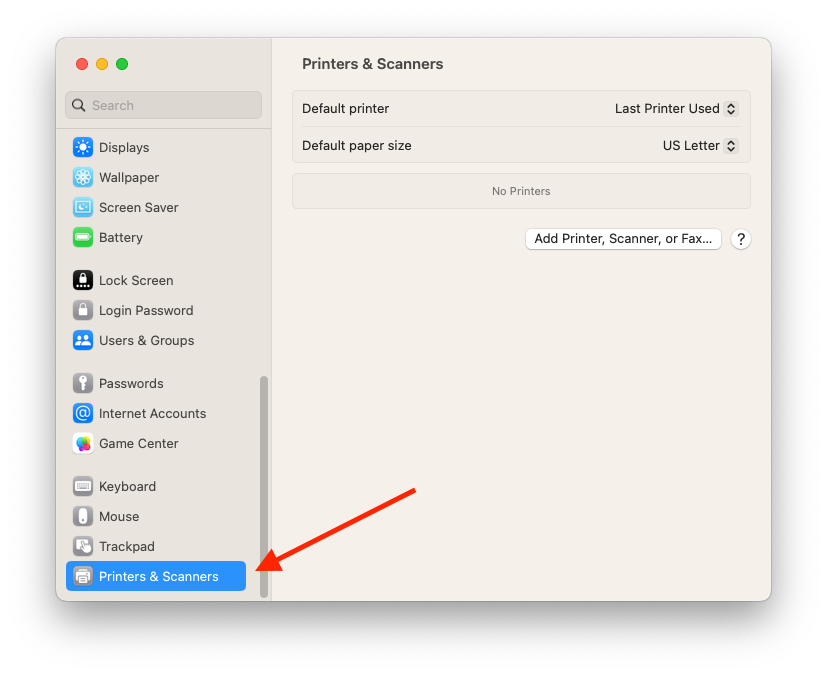
- In the sidebar, scroll down and choose Printers & scanners.
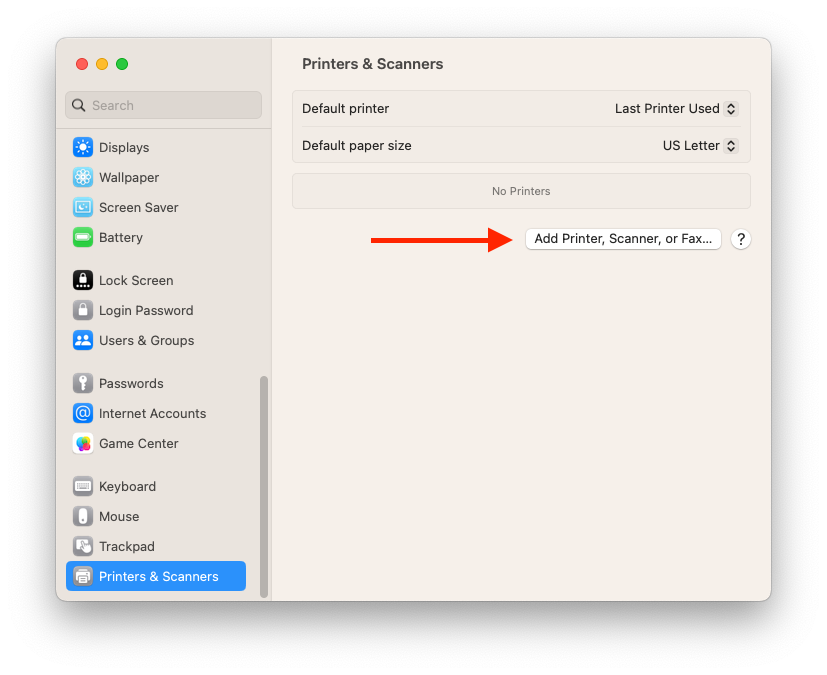
- Select Add Printer, Scanner, or Fax. (In some older operating systems, you will not see "Add Printer, Scanner, or Fax." If so, then locate and click the + symbol to add a printer.)
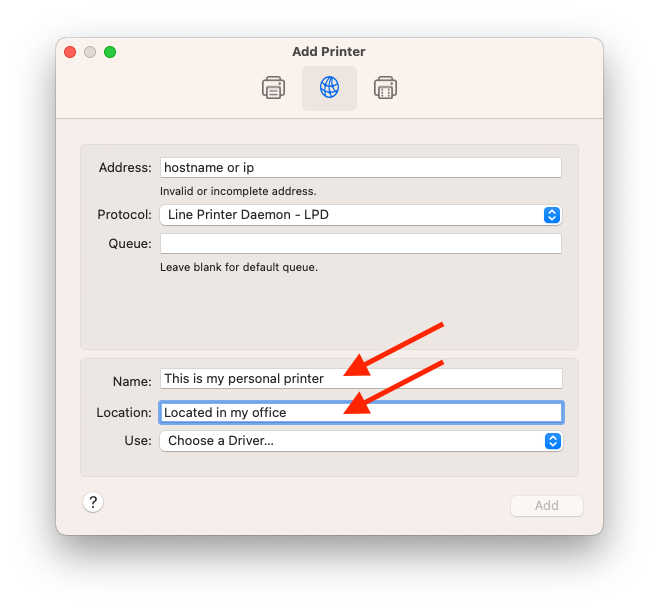
- Click the image of the Globe to add the printer by IP. Then, make sure to select the protocol Live Printer Daemon - LPD.
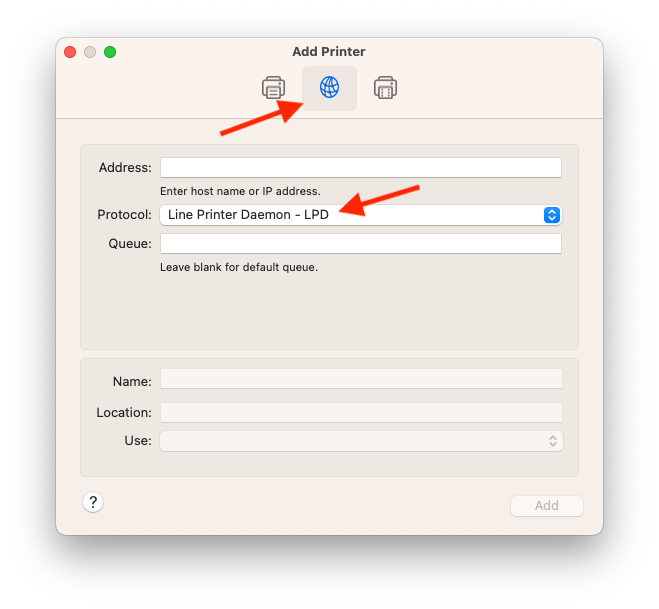
- In the Address field, enter the following:
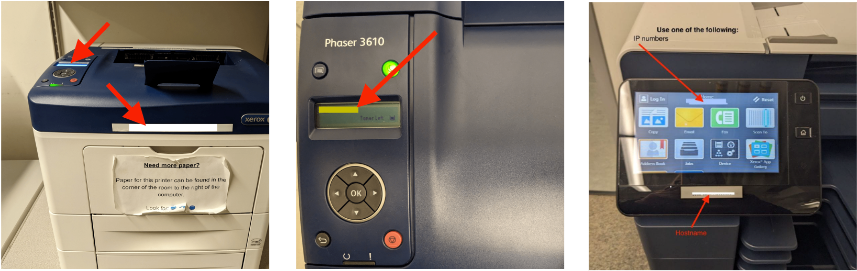
- Hostname or IP address: Use the hostname the computing team taped to the printer, OR the IP numbers that should appear on the printer screen every minute or so. See below. If you are having trouble, please contact us at socsci-it@ucsc.edu. Just choose one from your printer and fill it in.
- Hostname or IP address: Use the hostname the computing team taped to the printer, OR the IP numbers that should appear on the printer screen every minute or so. See below. If you are having trouble, please contact us at socsci-it@ucsc.edu. Just choose one from your printer and fill it in.
- When it says “Use: Generic PostScipt Driver” just keep whatever default settings it automatically selected. You may then choose to change the Name or Location for the printer to help you remember it.
- Click Add.
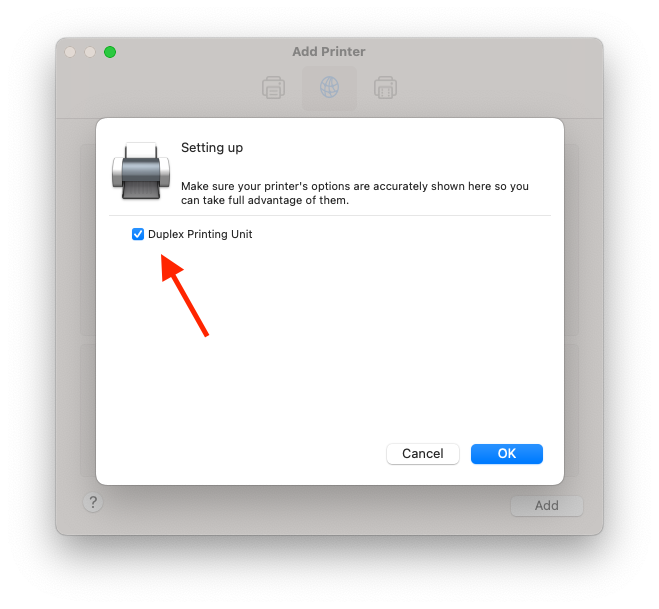
- Select “Duplex Printing Unit” if you are trying to connect to a printer that has the ability to print double sided.
That’s it! Congratulations, you’ve added the printer and can now print to it.
Contact Us
If you are part of the Social Sciences faculty and staff and you need help with this, please email us at socsci-it@ucsc.edu.

UC Santa Cruz, 1156 High Street, Santa Cruz, Ca 95064
©2025 Regents of the University of California. All Rights Reserved.