How to Add a Network Printer on Windows 10 via IP Address
1. Select the “Start” window icon and type “Settings” in the search box. Click on Settings.
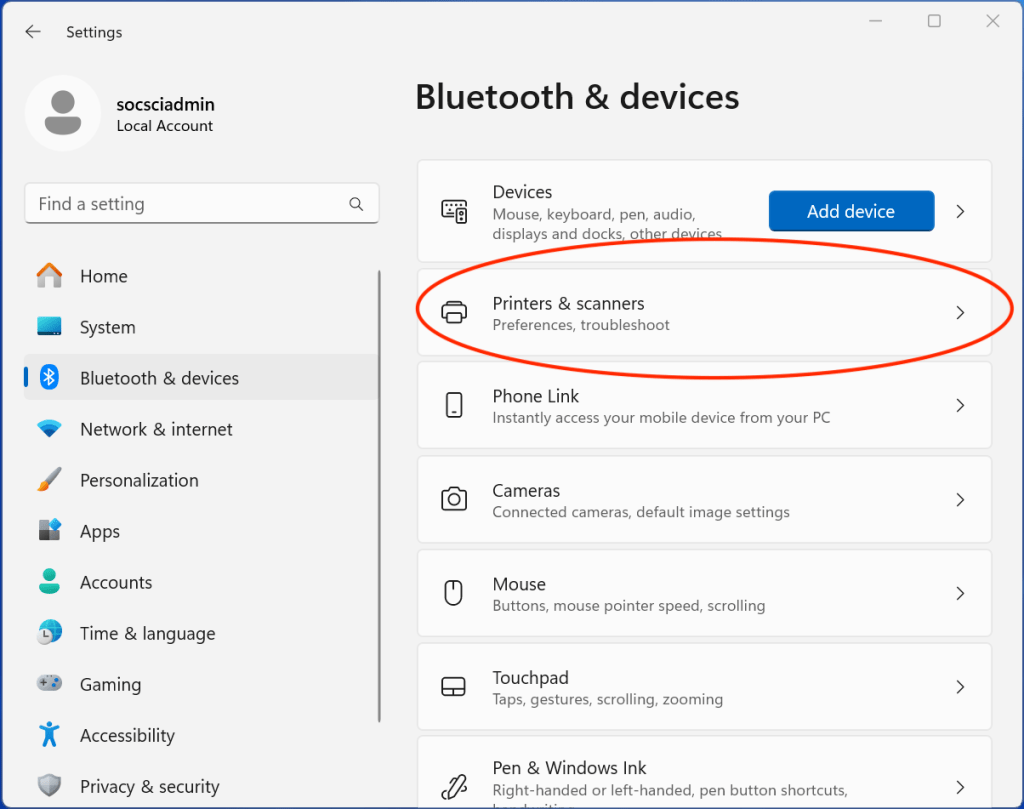
2. Choose “Bluetooth & devices”
3. Choose “Printers & scanners“.
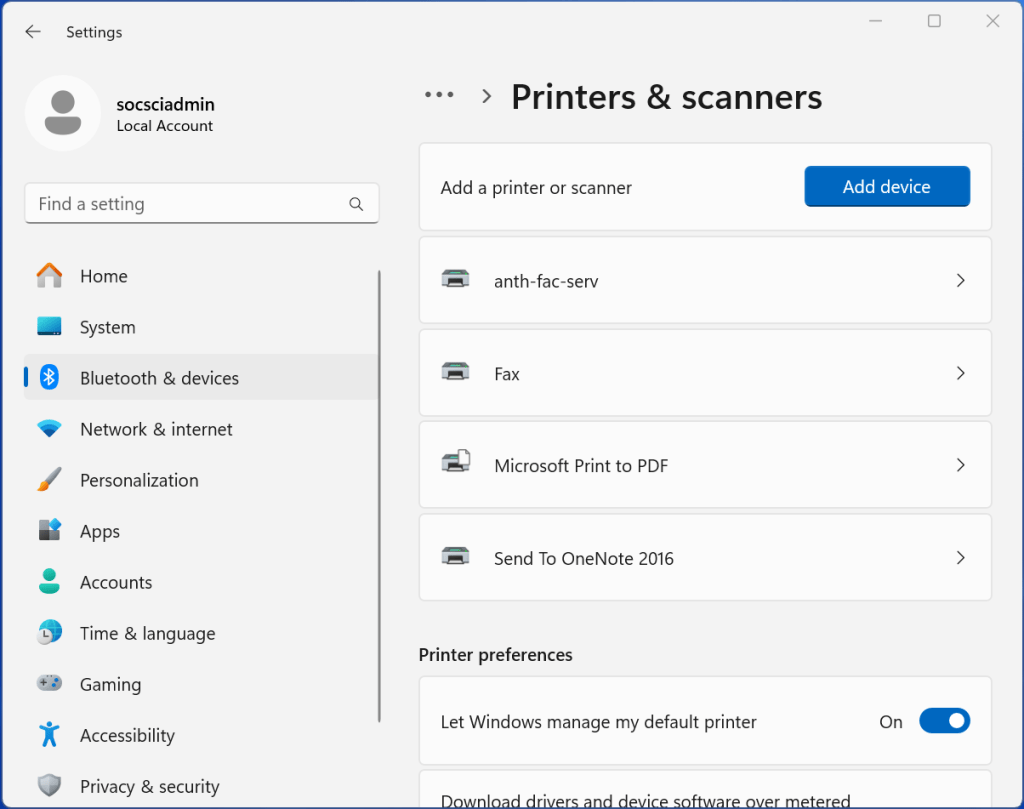
4. Select “Add a printer or scanner“.
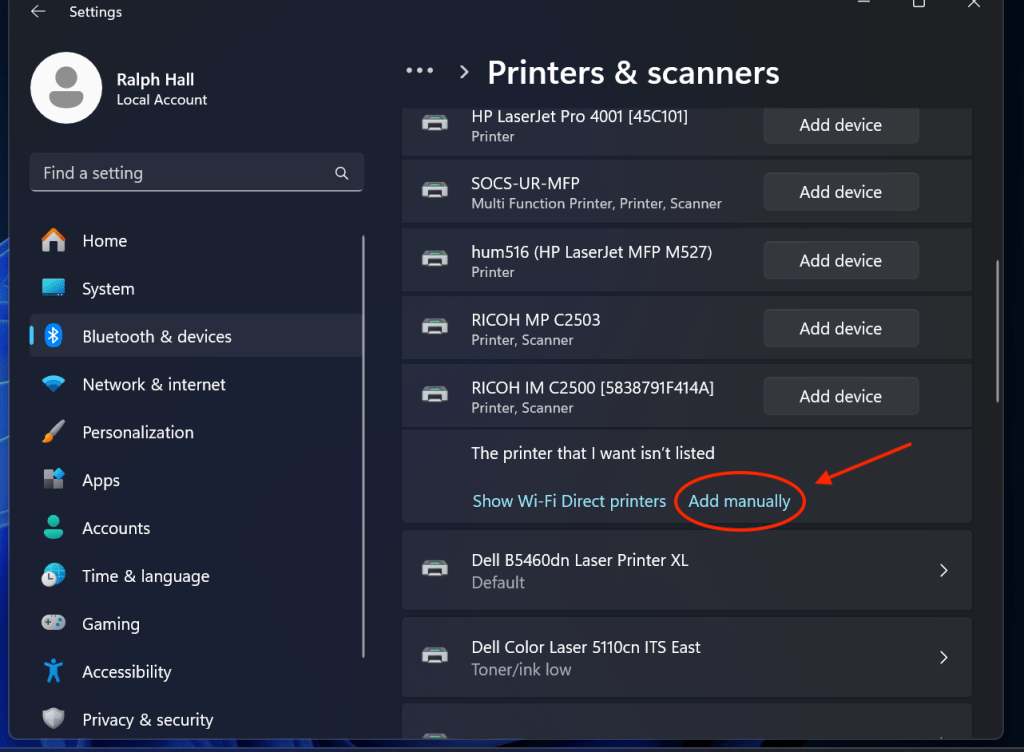
5. Wait for the “The printer that I want isn’t listed” option to appear. You may need to scroll down. Then click “Add manually” to bring up the next window. (Adding manually is how we will add the printers that are hidden.)
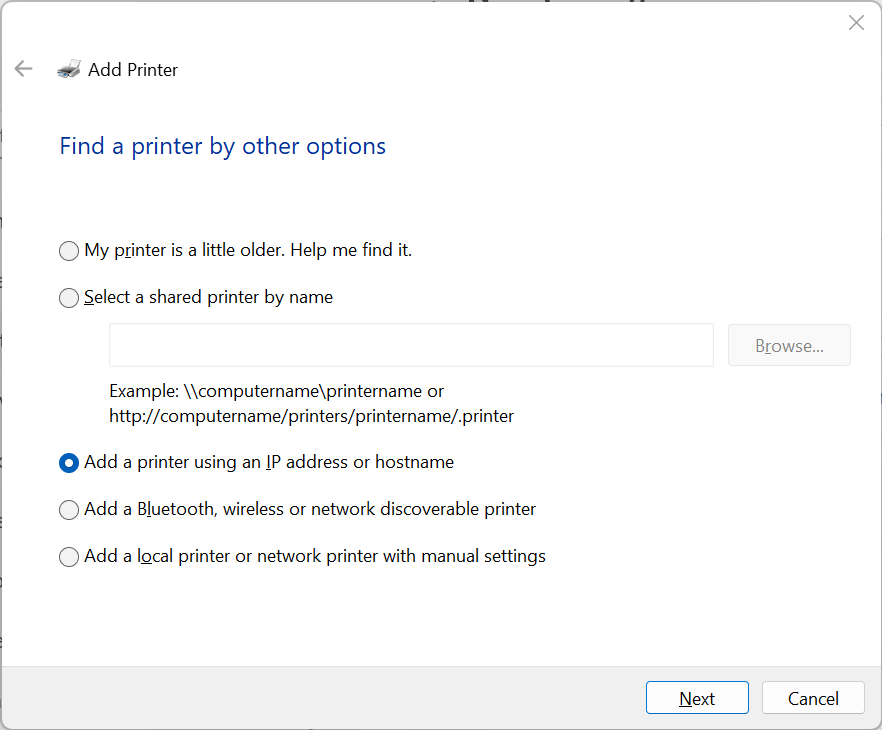
6. Then select “Add a printer using an IP address or hostname”. Then click Next.
7. Select Device Type: TCP/IP Device, and a window will appear, asking for Hostname or IP address and Port name.
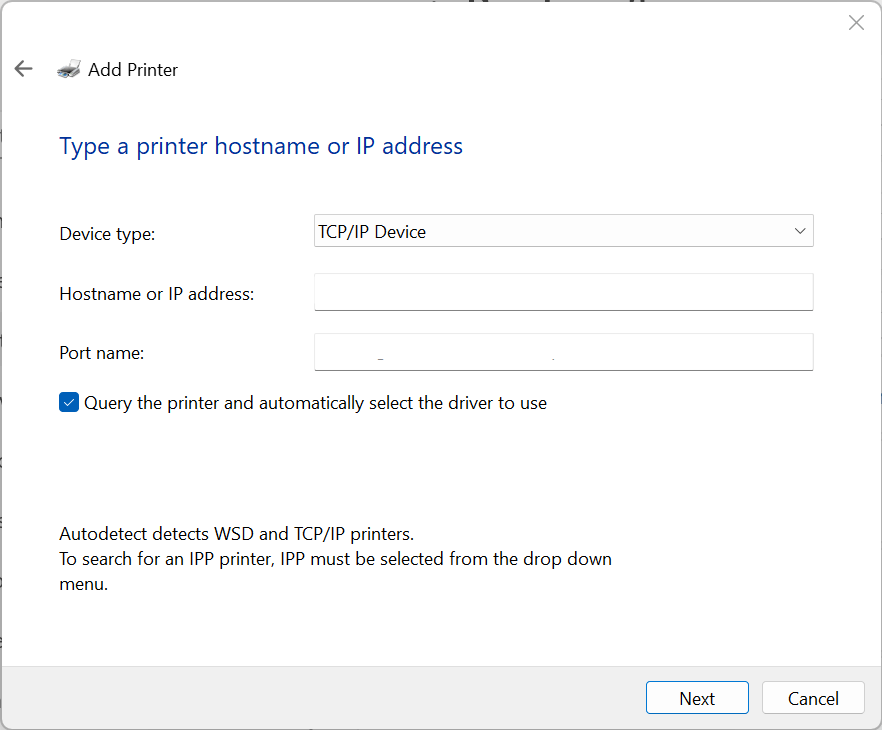
8. Enter the following:
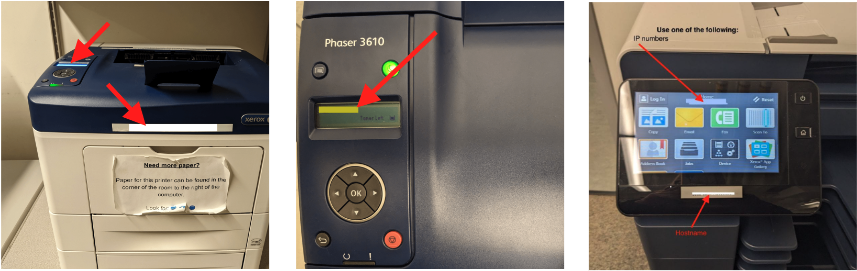
- Hostname or IP address: Use the hostname the computing team taped to the printer, OR the IP numbers that should appear on the printer screen every minute or so. See below. If you are having trouble, please contact us.
Below is an image of the Hostname the computing team taped to a printer and the IP address that appears on the screen of the printer. Just choose one from your printer and fill it in.
9. Continue to fill in:
- Port name: field should automatically fill in when you type the Hostname.
- Make sure the box is checked that says: Query the printer and automatically select the driver to use.
Then select “Next“.
10. Follow the prompts to finish adding the printer.
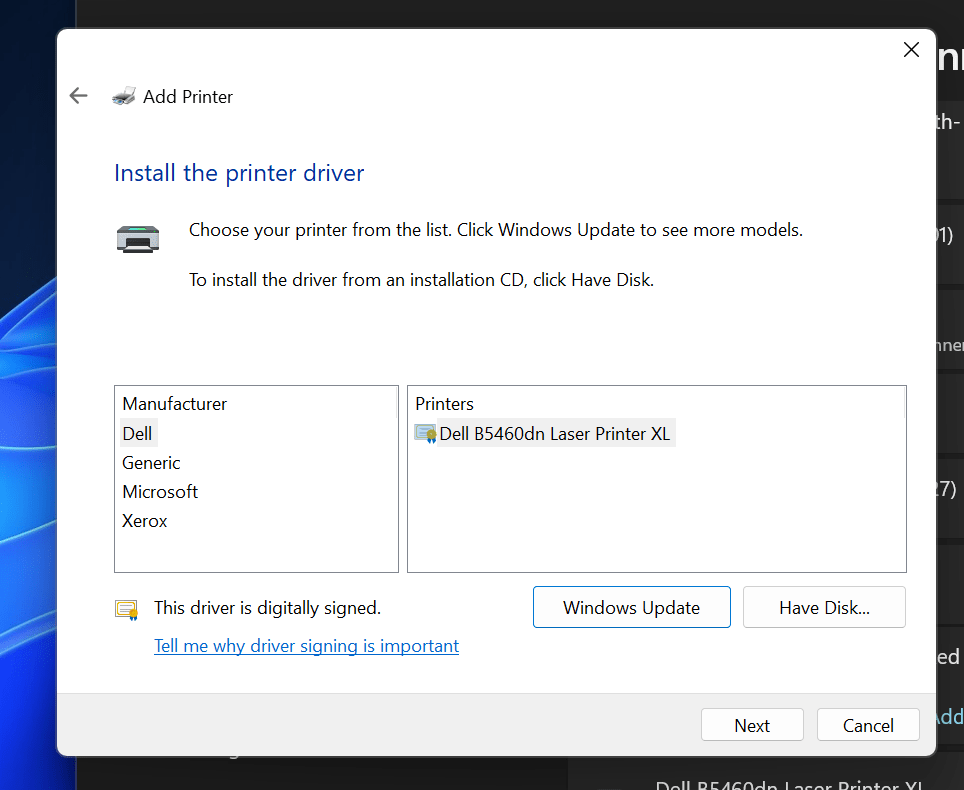
11. When it says “Install the printer driver” just keep whatever default settings it automatically selected: just click Next.
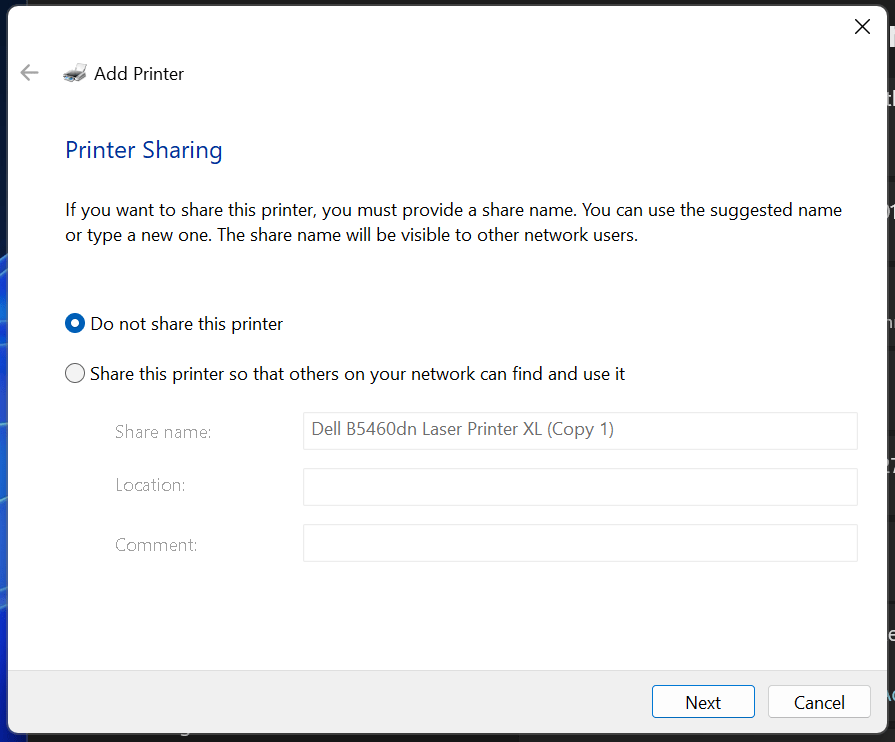
12. For Printer Sharing, select “Do not share this printer” and click Next.
13. When prompted, check the box for “Set as the default printer” and click Finish.
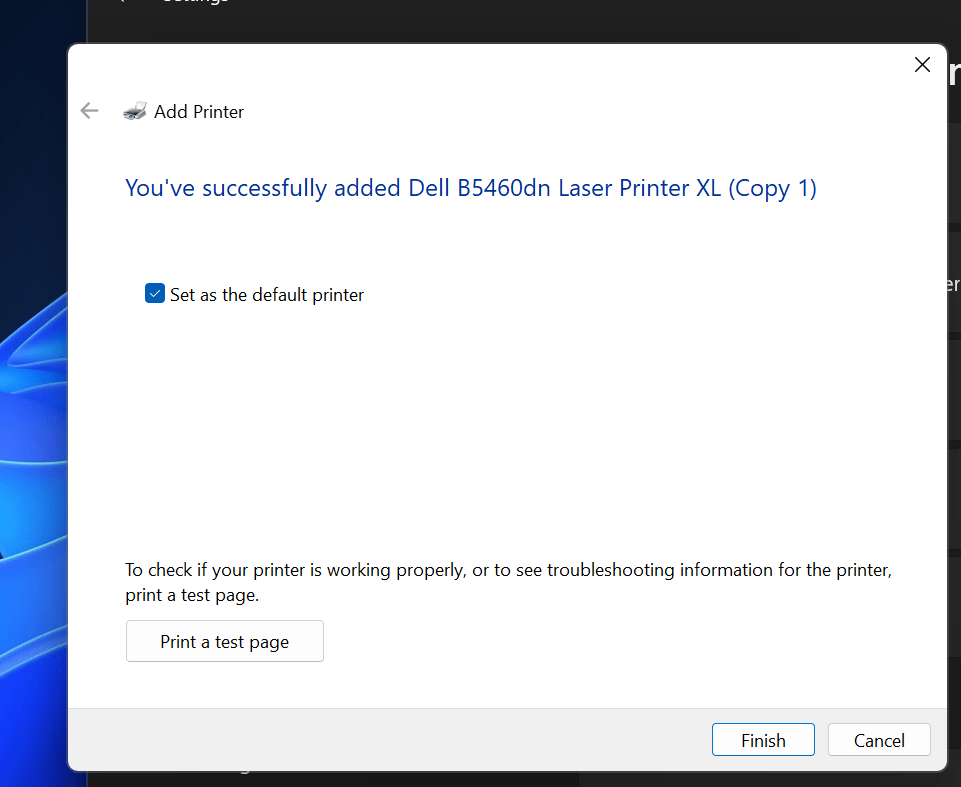
That’s it! Congratulations, you’ve added the printer and it will be selected when you go to print!
Contact Us
If you are part of Social Sciences Faculty and Staff and you need help with this or other Computing and IT, email us at socsci-it@ucsc.edu:
